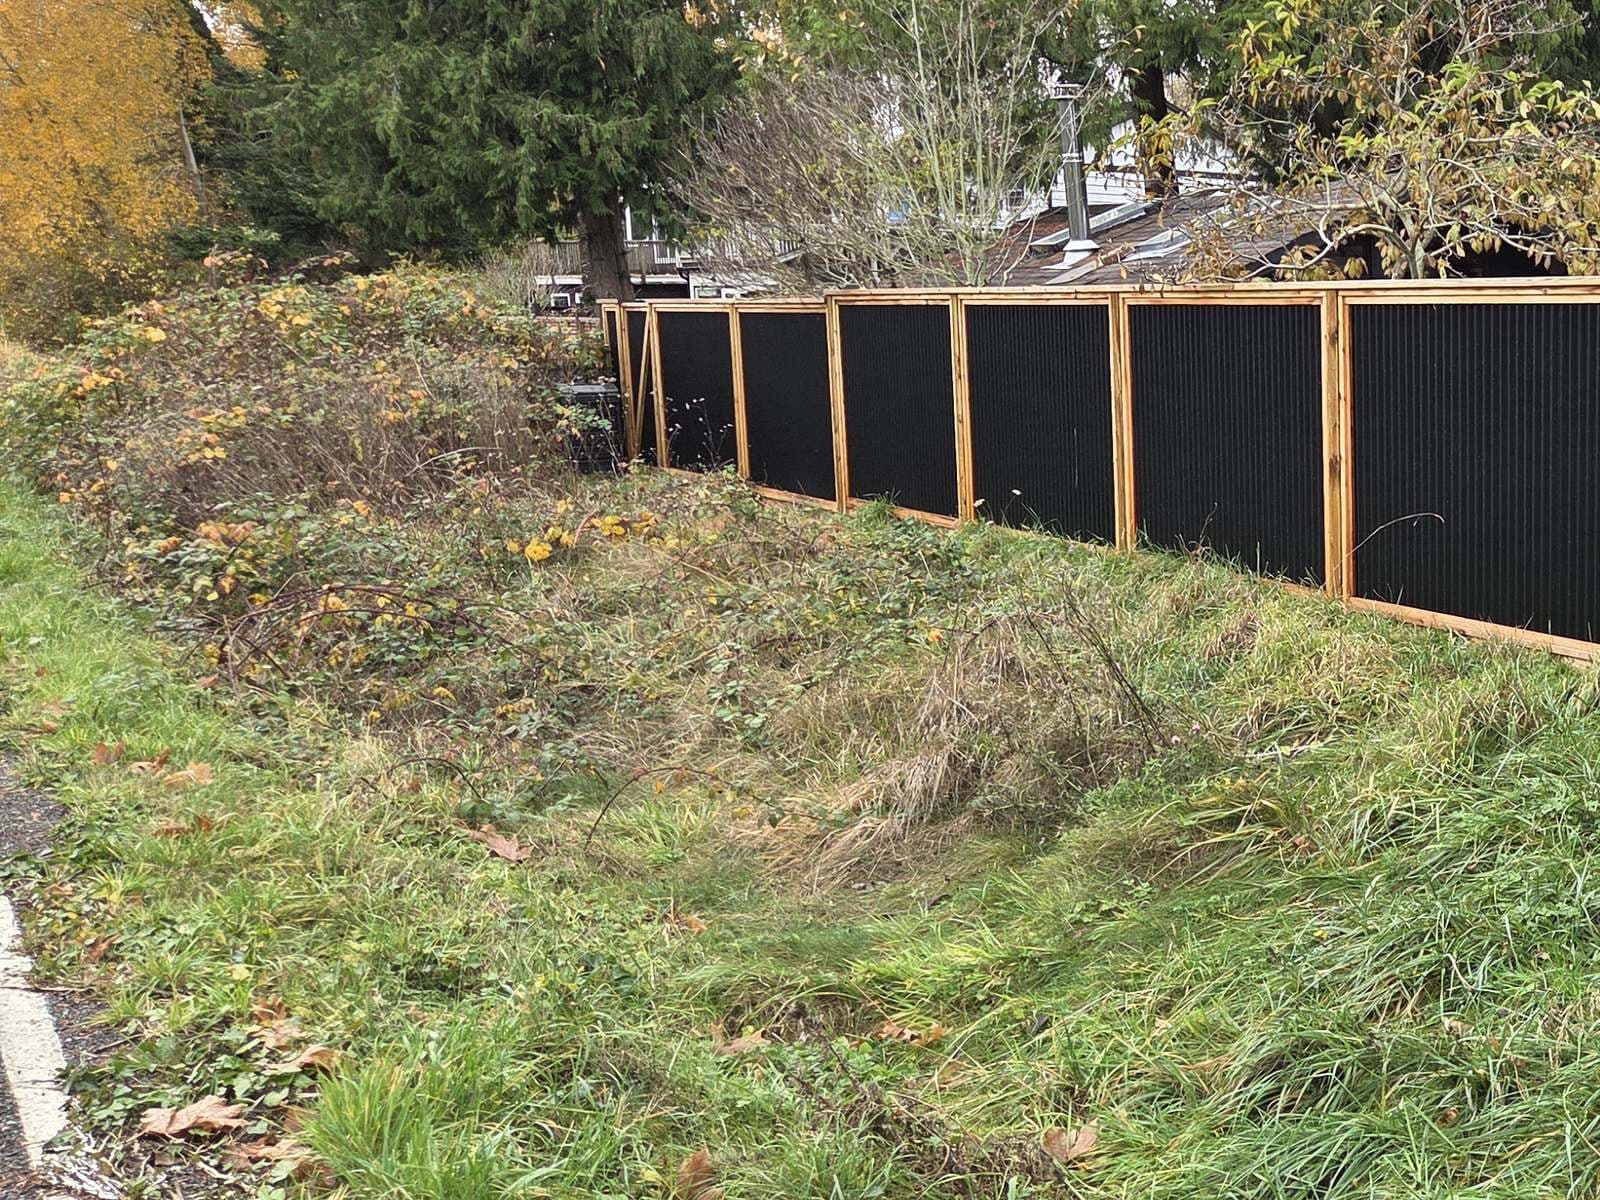
A wood-framed corrugated metal fence panel installs like any 6 × 8 panel we build: posts at 96 in. on centre, set about 48 in. deep in southern Ontario, and the panel fastened through its frame to the posts with hot-dip galvanised or stainless fasteners. If you have hung a cedar panel, you have hung this one. The two differences are what the steel changes: you do not cut it and you do not screw through it. Here is the whole job in the order it happens, written to match the guide we hand out at pickup.
What you are hanging
The Wood & Steel panel is a sheet of 26-gauge black corrugated steel fastened inside a pre-stained 2×4 wood frame, flat in a jig, so it arrives square. It stands a true 66.5 in. tall and 96 in. wide; the lattice top stands 68 in. Lay the run out against those numbers, not the trade name (nominal versus true sizes). The frame is what carries the panel: it takes the fasteners, bears on the posts and carries the wind load. The steel is infill. Keep that in mind and every decision below follows from it. It is a two-person lift, like every panel we build.
Lay out the posts at 96 in. on centre
Measure the run in inches, divide by 96 and round up: that is the panel count, and the post count is one more. A 100 ft run is 1,200 in., thirteen panels, fourteen posts. Mark every post centre at 96 in. along the line, because 96 in. is the post-to-post distance, not the panel width, and a bay built at 93 in. will not take the panel while one built at 99 in. leaves it hanging on its fasteners. Set the end and corner posts first, run a string line between them at top-rail height, and set every post between to the string; a run set by eye reads crooked from the kitchen window. Gates and corners take a 6×6; the rest of the line takes 4×4s. The last bay of most runs is short. On a cedar or treated panel that is a cut at the rail; on a steel panel it is a custom-width panel ordered from us, or a wood panel where it shows least, and not a field cut through the sheet.
Dig to frost depth and set the posts
Frost depth is 48 in. across most of southern Ontario, including the GTA and Hamilton, 54 in. around Peterborough and Kingston, and 60 in. around Ottawa, North Bay and Sudbury, and most installers dig a hand below it. A 6 ft fence with 48 in. of post in the ground wants a 10 ft post: 48 in. buried, 6 ft above grade to carry the panel. Put 6 in. of ¾ in. clear-crush gravel in the bottom of the hole for drainage, set the post plumb to the string, pour a standard 30 MPa mix to grade and crown it away from the post. Skip the fast-setting bags; they crack inside two winters. Give the concrete a day before a panel hangs on it. This is the one step that matters more on a metal run than a wood one, for a simple reason: a solid steel face is a sail, and everything the wind puts into the face goes into the posts. How deep to set a fence post in Ontario covers the regions and the concrete-versus-gravel argument in full.
Hang the panel
Dry-fit first. Stand the panel between the posts on a pair of 3/16 in. spacers so it clears grade for airflow; on a slope, step each panel down in a level run rather than trying to lean it to the grade, because a framed steel panel cannot rack. Check the top rail against the string, shim if the terrain pitches, then fasten through the frame's vertical members into the posts: hot-dip galvanised or stainless ring-shank, four fasteners per rail end, the same schedule as every panel we build. Every fastener goes through wood into wood. None goes through the steel. Cap the posts last. Two people, one weekend per 60 ft, is the pace the install guide promises for cedar, and it holds for steel.
Two things not to do to the steel
Do not cut it. A field cut through corrugated steel leaves a bare edge, and a bare edge is where rust starts and where a finish warranty is written to stop. The manufacturer's limited 40-year warranty is on the steel and its finish as it left the factory; a narrow bay is a custom panel from us, quoted by hand, and a cut is a decision you cannot undo. Do not screw through the face. A screw through the sheet is a hole in the finish and a place for water to sit against bare metal. Anything that hangs on the fence, a hose reel, a light, a planter, a gate latch, hangs on the frame or the post. The frame is 2×4 lumber and takes a screw anywhere; the steel is the one part of the fence that should leave the yard exactly as it arrived.
Gates, corners and slopes
A gate bay has a post on each side like any other, both 6×6s, because the gate hangs its whole weight off one and swings against the other; a single gate is 4 ft, a double is 8 ft and takes a full bay out of the count. We build gates to match and quote them by hand, so ask when you order. A corner post carries two panels pulling in two directions and is a 6×6 for the same reason. On a slope, the panels step: each bay is level and the next drops by the grade over 8 ft, with the post cut to the lower panel's top. Gentle grades step cleanly; a steep lot is a stepped fence and looks like one, which is worth knowing before the posts go in.
Tools and materials
A post-hole digger or a one-person auger, 4 ft and 6 ft levels, a chalk line and mason's twine, 3/16 in. spacers, a framing hammer or an impact driver, and two workhorses to stand the panel on while you check it. Per bay: one panel, one 10 ft 4×4 at $18.79, two to three bags of concrete, and fasteners from one box for the whole run; a 6×6 at $48.99 at each gate post and corner. Posts and lumber are pickup only at the yard, and the panels are $169.99 each, picked up free or delivered within about 100 km of Bolton for $200 for up to 40 panels plus HST.
That is the whole job: fourteen holes, a string line, a day for the concrete, and an afternoon of hanging. The only new habits are the two about the steel. We are at 240 Ellwood Drive West in Bolton, Monday to Friday, 9 to 5; come and lift one, and the rest of the line is on the Wood & Steel page.